If you’re reading this post, chances are you already know what direnv is, but in short, it’s a way to automatically enter a Nix shell environment when entering a directory. Though there are tutorials available on setup, they don’t show how to utilize NixOS to make the setup reproducible.
Direnv installation and setup
First thing to do is obviously to install direnv by adding it to our system packages in our NixOS configuration as follows:
environment.systemPackages = with pkgs; [ direnv ];
Then we will configure Bash to execute the direnv hook:
programs.bash.interactiveShellInit = ''eval "$(direnv hook bash)"'';
This will work for other direnv-supported shells as well by replacing bash with the shell you want to use.
At this point a system rebuild is required.
Setting up a project
After a system rebuild and starting a fresh Bash instance, we’re ready to use direnv in our mock project. First, let’s write a shell.nix direnv will load for us:
{ pkgs ? import <nixpkgs> {} }: with pkgs;
mkShell {
  buildInputs = [ sl ];
}
Now we will whitelist this directory and create a .envrc file for direnv:
$ direnv allow && echo "use nix" > .envrc
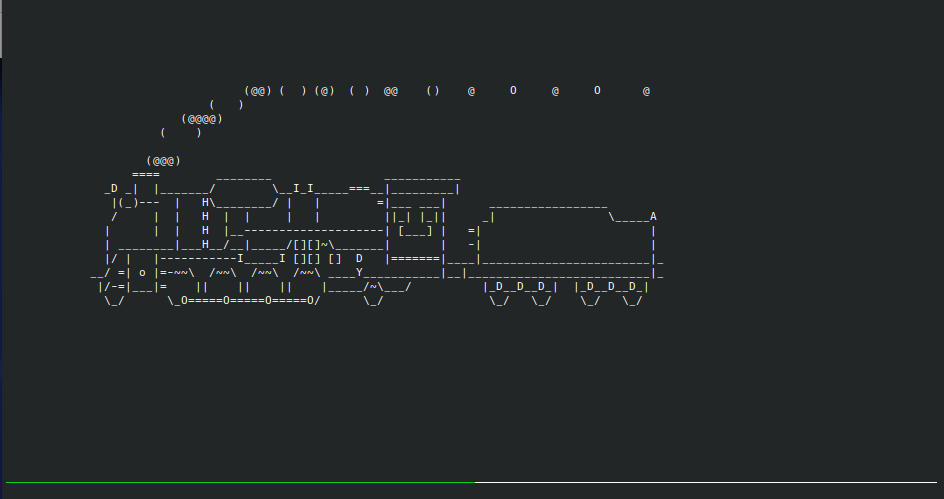
Now you should see direnv being activated, and sl being available in PATH.

A vital addition for any project!